Creating an Agentverse hosted agent
Introduction
On the Agentverse (opens in a new tab)![]() you can create and host any type of Agent you want to create using the My Agents
you can create and host any type of Agent you want to create using the My Agents ![]() tab.
tab.
Check out the Agentverse: allowed imports ![]() guide for a better understanding of the packages available for development of Agents on the Agentverse.
guide for a better understanding of the packages available for development of Agents on the Agentverse.
Let's start by heading over to the Agentverse: My Agents tab, click on the + New Agent. Here, there are 2 different ways you can start creating your agent. You can either choose to create an Agent:
- From a Blank Agent.
- From a Skeleton Agent.
Prerequisites
Make sure you have read the following resources before going on with this guide:
- Quick Start Guide for uAgents Framework

- Creating your first agent
- Agents address
- Almanac contract
- Register in Almanac
- Agents running on Agentverse
Quota Mechanism in Agentverse
To keep your hosted Agents running and maintain uninterrupted operation, it is required that users log in to the Agentverse at least once every 30 days. Failure to do so will result in your Agent being deactivated. This mechanism ensures efficient resource management and prevents unmaintained Agents from consuming unnecessary resources.
Ensure you log in at least once every 30 days to prevent your hosted Agent from being deactivated.
Creating an Agent from a blank script
You can create your Agent from a blank script by navigating towards the Agentverse (opens in a new tab)![]() , signing in and choosing the My Agents tab. Here, click on the + Agents button.
, signing in and choosing the My Agents tab. Here, click on the + Agents button.

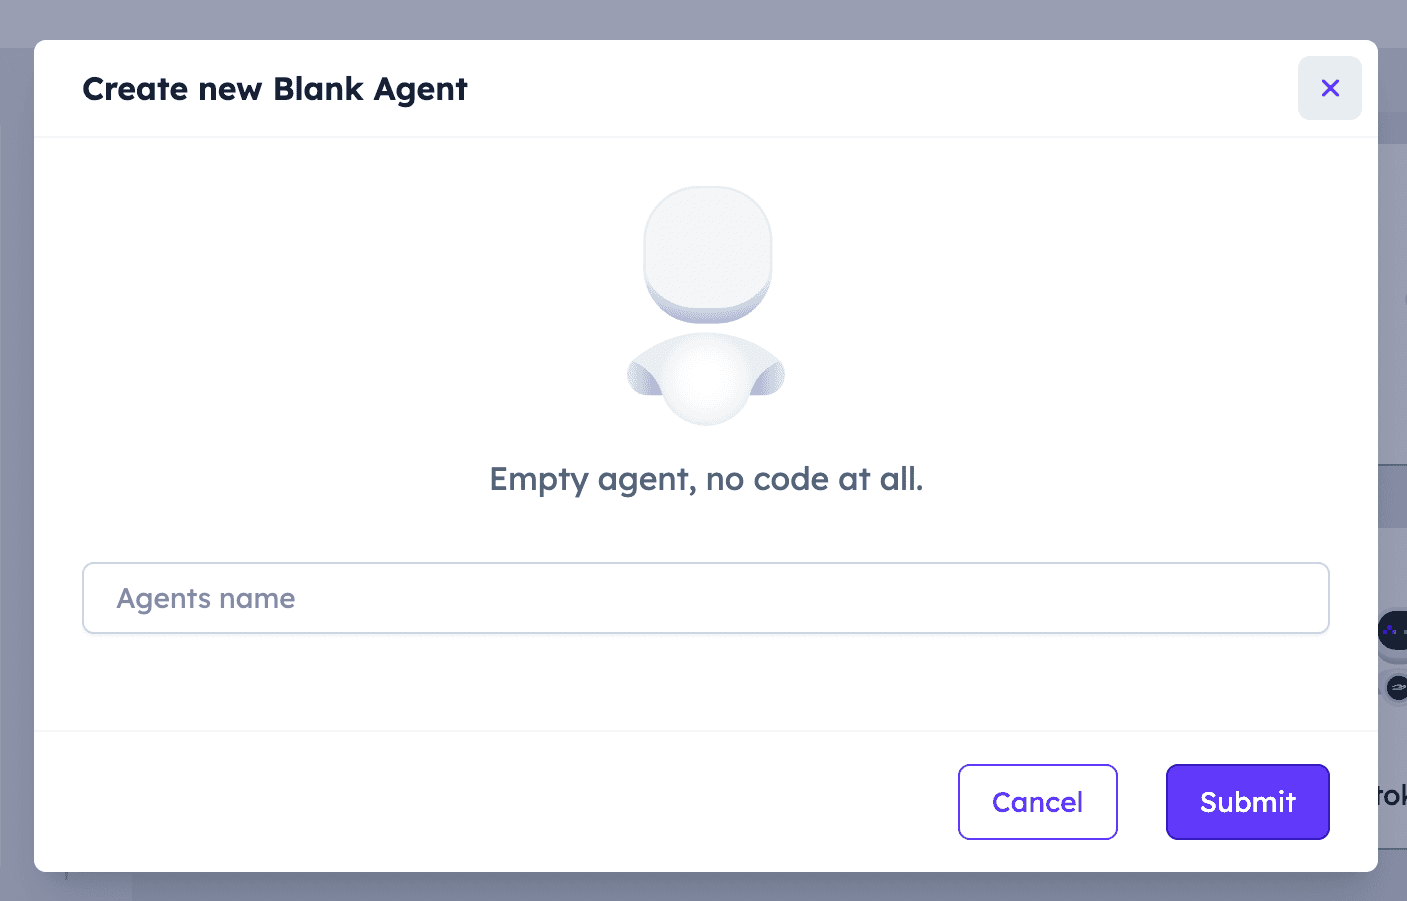
Here, click on the + New Agent button and choose Blank Agent.

You will need to provide a name for the Agent you wish to create.
Once you select it, your agent will be ready to be coded and a box will appear in the My Agents page with different data being displayed about the agent you have just created, including the name and the address of the agent.

If you click on your agent box, the code editor will be displayed. This is the Agent Editor; it allows you to create, edit and refine the code for the Agent you have in mind all in one place. The Agent editor provides various basic information about your Agent, including the Agent address and wallet address. For additional information on Agent addresses, have a look at our dedicated documentation here ![]() .
.

The Agent Editor has an integrated agent.py and .env files that allow you to start programming immediately! The Agent Editor offers you the option of structuring your project into several file windows, which are located on the left-hand side of the editor window. All you have to do is enter a name for the new file to be added. An additional feature of the Agent Editor is the Agent Logs; a built-in terminal that displays the output of your script after it has been executed. The Agent Logs provides multiple filters for the different log levels.
The Agent Logs feature is available by clicking the third bottom icon on the left side of the Agent Editor. The first and second buttons enable you to explore Agents Secrets and Agent Storage features.
This way, we aim at making Agents' development as quick and efficient as possible. This is a great tool to determine if your code runs smoothly and to check if any error arises and solve it immediately!

Documentation and customization for your Agents
Whenever you create an Agent, it is always a good practice to provide a README file, metadata and an Agent's icon for better reference. The README helps in providing a clear and concise overview of the Agent's purpose, functionality, and setup instructions. You will be able to see this file within your Agent's Overview page in Agentverse. On the other hand, the Metadata should serve as a structured summary of your Agent's configuration, such as its name, description, creator details, and any other specific settings or dependencies.
Check out the following guide ![]() if you have a local Agent
if you have a local Agent ![]() which you want to register into the Agentverse via a Mailbox. The guide will help in understanding how to enroll the Agent using a Mailbox, and how to possibly set up a README file locally and then publish it on Agentverse for your local Agent.
which you want to register into the Agentverse via a Mailbox. The guide will help in understanding how to enroll the Agent using a Mailbox, and how to possibly set up a README file locally and then publish it on Agentverse for your local Agent.
Additionally, every Agent should have a custom icon (i.e., an Avatar) to visually distinguish it from others. This icon improves the Agent's identity and usability within the Agentverse. It is possible to customize your agent's avatar by clicking on your current Agent's avatar icon and choose either an existing avatar or upload your own! You can do this straightforwardly from the full list of your Hosted Agents or from the Agent Editor when editing information for a particular Agent!

Create your first hosted Agent on the Agentverse!
You are now ready to start using the Agentverse to create and edit your Agents in few minutes! Let's begin with creating a simple Agent printing "Hello world!" in the Agent Logs on an interval of 3 seconds by using the .on_interval() decorator.
Here's an example:

To run the agent, simply click on the Run button. You can stop the script by clicking on the Stop button.
The output will be printed in the Agent Logs window:

Within the Agent Editor, you can import and utilize a predefined set of modules to develop your ideas. These pre-approved modules offer a diverse range of functionalities, allowing you to build complex Agents. For further information on modules being available within the Agentverse Editor, have a look at the following resource: Agentverse: allowed imports ![]() .
.
Create an Agent based on a template
You can also create an Agent by choosing Skeleton Agent or one of the template options available within the Getting Started, DeltaV Integration, Smart Services or the AI/ML tabs. A description of each template Agent is provided when hovering above the option you want to choose.

There are different categories you can choose from:
-
Getting Started: this category helps you in creating basic Agents using the Agents technology. You can:
- Create your first Agent.
- Send messages between two Agents.
- Storing data.
- Organize your Agents with protocols.
- Create an Agent requesting data from a website.
- Create an Agent sending tokens to another agent.
- Create an Agent interacting with an oracle smart contract.
-
AI/ML: this category allows you to develop AI/ML Agents.
You can choose to:
- Create an Agent requesting data from an AI model.
-
Smart Services: this category is for building smart Agents for different services.
You can choose among:
- Weather data agent: this allows you to develop Agents retrieving weather data from weather services API.
- Weather data provider and consumer agents: this use case allows you to create two different Agents, one providing weather data and another one consuming such data.
- Weather data seller and buyer agents: this use case allows you to create two different Agents, one selling weather data and another one buying such data.
- Weather oracle provider and consumer agents: this use case allows you to create two different Agents, one updating an oracle contract with weather data and another one requesting such data to the oracle by paying a small fee.
- MongoDB Atlas integration: this use case shows how to use MongoDB Atlas as a backend for Agent storage with a restaurant booking example.
- PlanetScale integration: this use case shows how to use PlanetScale as a backend for Agent storage with a restaurant booking example.
-
DeltaV Integration: this category allows you to develop Agents offering different Agent Functions which are then made available through the DeltaV
chat based on a given template. These Agents and related Functions need to register within the Agentverse first so for them to be available for queries from users operating and interacting with DeltaV Agent. Checkout our dedicated guide for Agent Functions available here .You can choose to:
- Stock Price Agent: create a DeltaV compatible Agent requesting the price of a stock.
- Coin Toss Agent: create a DeltaV compatible Agent tossing a coin for you.
- Dice Roll Agent: create a DeltaV compatible Agent rolling a dice for you.
- EV Charger Agent: create a DeltaV compatible Agent to find nearby EV charging stations.
- Geocode Agent: create a DeltaV compatible Agent to find the latitude and longitude of a given address.
- Restaurant Agent: create a DeltaV compatible Agent to find the nearby restaurants based on a given location.
Let's assume you want to create your Agent using the Your first Agent template from the Getting Started window. Each template available presents a small number in the bottom right corner indicating the number of Agents available for that particular template.

Whenever you choose one of the templates available to start building your Agent, in the Agent Editor you will see some additional information appearing when clicking on the use case chosen, alongside with the baseline code needed to make it runnable. You can use this as a starting point for your ideas.

The output in this case would be the following:

Support for Local Agent Code
You can now import the Agent class and create your agent with my_agent = Agent(...). Note that this is simply a wrapper for your pre-loaded agent instance, so any custom configuration you add to the Agent will be ignored. This is because the configuration, seed, name, and address for hosted Agents is already set, and is not allowed to be overwritten.
Additionally, you can now use agent.run() method, but this is also not required. Clicking Run will cause your agent to run whether you include this command or not. The main reason for supporting this is to unify local and hosted Agent code, so that your Agent code can run as either local or hosted without any modifications.
Exceptions:
-
Use of
Bureauis not allowed as each Agent project can contain only a single agent. -
For security reasons, imports are still restricted to those listed in Agentverse: allowed imports
. Soon we will be making available a new hosting environment which much fewer restrictions on the imports.ℹ️Check out the AVCTL - Agentverse Command Line Interface
to better understand how to possibly interact with the Agentverse. AVCTL provides multiple features (e.g., authorization and hosting management) allowing developers to log in, set up projects, and deploy Agents on the Agentverse.
Register Domain Name
You can also provide a Web3 Agent Name to your Agent. To do so, just click on + Register Web3 Name and fill in the dedicated field for this. This way, your Agent will be given a unique name, making it easier for other Agents to find and communicate with it. The only requirement is the name being in lowercase with no web3 in between.